Testing if an air purifier lives up to its CADR (Clean Air Delivery Rate) claims doesn’t require expensive lab equipment. With simple household items and some basic techniques, you can verify your purifier’s performance at home. This guide walks you through practical methods to check if your air purifier delivers the cleaning power promised by manufacturers, from no-equipment visual tests to consumer-grade air quality monitor measurements.
What is CADR and How is it Officially Measured?
Before attempting to verify CADR claims at home, it’s essential to understand what CADR means and how it’s officially measured in testing facilities. CADR stands for Clean Air Delivery Rate and measures an air purifier’s cleaning speed in cubic feet per minute (cfm) or cubic meters per hour (m³/h).
The Association of Home Appliance Manufacturers (AHAM) standardized CADR testing measures purifier effectiveness against three common pollutants:
- Dust (particles 0.5-3.0 microns)
- Pollen (particles 5-11 microns)
- Smoke (particles 0.1-1.0 microns)
During official testing, purifiers operate in controlled chambers where specific pollutants are introduced. Sensors measure how quickly the purifier reduces particle concentration compared to natural settling. The resulting CADR number tells you how many cubic feet of air the purifier cleans per minute.
| Photo | Popular Air Purifiers | Price |
|---|---|---|

|
Air Purifiers for Home Large Room up to 1500ft², Tailulu H13 True HEPA Air Purifier for Pets Dust Odor Smoke, Air Purifier for Bedroom with 15dB Quiet Sleep Mode for Bedroom Office Living Room | Check Price On Amazon |
|
Afloia Air Purifier for Home, 4-in-1 Washable Filter for Allergies, Covers Up to 1076 ft², Quiet Operation, Auto Shut-Off & Night Light, Removes Pet Dander, Pollen, Dust, Mold, and Smoke, White,Pluto | Check Price On Amazon |

|
Nuwave OxyPure ZERO Air Purifier with Washable and Reusable Bio Guard Tech Air Filter, Large Room Up to 2002 Ft², Air Quality Monitor, 0.1 Microns, 100% Capture Irritants like Smoke, Dust, Pollen | Check Price On Amazon |

|
Air Purifiers for Home Large Room Up to 1,996 Ft², EOEBOT Air Purifier for Home Pets with Washable Filter, Quiet Sleep Mode, Air Quality Monitor, Air Purifier for Bedroom, Pet Hair, Dust, Smoke, White | Check Price On Amazon |
|
Afloia 2 IN 1 Air Purifier with Humidifier Combo, 3-Stage Filters for Home Allergies Pets Hair Smoker Odors, Evaporative Humidifier, Auto Shut Off, Quiet Air Cleaner with Seven Color Light,White | Check Price On Amazon |
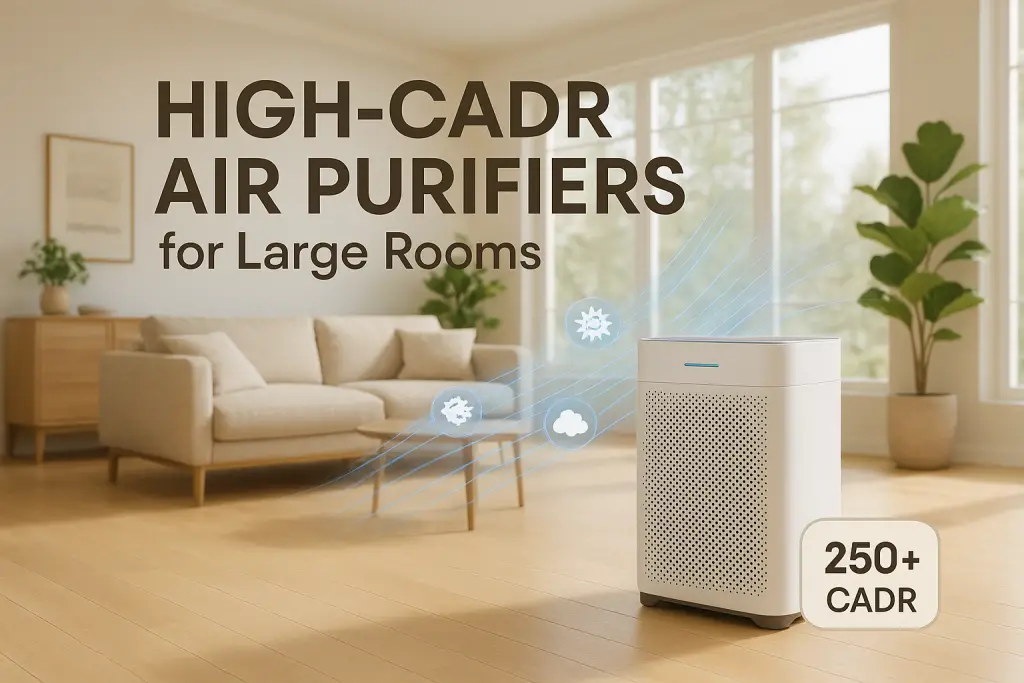
Room size calculations directly relate to CADR ratings. For adequate air cleaning, AHAM recommends a CADR rating at least two-thirds of your room’s square footage. For example, a 150 square foot room needs a purifier with a CADR of at least 100.
Limitations of Laboratory CADR Testing
While laboratory CADR testing provides standardized measurements, it has several limitations that affect real-world performance.
- Test chambers differ from actual rooms in size, airflow patterns, and furniture obstacles
- Tests run for limited periods, not accounting for long-term performance
- Single pollutant testing doesn’t reflect mixed contaminants in homes
- New filter performance doesn’t represent everyday use with partially clogged filters
- Manufacturer testing methods may vary despite standardization attempts
These limitations make home verification valuable for understanding your specific purifier’s performance in your actual living space.
No-Equipment Methods: Visual Tests to Verify Basic Purifier Function
Let’s start with the simplest verification methods that require absolutely no special equipment. While these tests can’t quantify CADR precisely, they can confirm basic functionality and airflow.
The Paper Test
- Cut a piece of lightweight paper about 4 inches square
- Turn your purifier to its highest setting
- Hold the paper near the air intake vents (usually on the sides or back)
- The paper should be pulled toward the purifier with noticeable force
- Repeat near the output vent to verify air is being pushed out
A strong, consistent pull indicates good airflow. Weak or inconsistent movement suggests potential issues with the fan or motor.
The Dust Test
- Turn off your purifier for 24 hours while normal household activities continue
- Wipe the area around your purifier with a clean cloth
- Run the purifier for 24 hours
- Check for dust accumulation patterns around the intake
You should see more dust near the intake areas if the purifier is actively drawing in air.
Filter Inspection Method
- Remove the filter according to manufacturer instructions
- Check for even dust distribution across the filter surface
- Look for discoloration patterns that indicate air has passed through
Proper filtering creates distinctive patterns on the filter media. An almost clean filter after weeks of use may indicate poor air circulation.
Interpreting Visual Test Results
Visual tests provide qualitative rather than quantitative results. Here’s how to interpret what you’re seeing:
Strong airflow indicators include paper that quickly attaches to the intake or vigorously moves when placed 6-12 inches away. Weak indicators include paper that barely moves or only moves very close to vents.
Expect filter discoloration to be darkest in the center and gradually lighter toward edges. Spotty or extremely uneven patterns may indicate channeling, where air finds paths of least resistance rather than distributing evenly through the filter.
While these tests confirm basic operation, they cannot verify specific CADR numbers or filtration efficiency. They’re best used as first-step checks before more precise methods.
Basic Equipment Methods: Using Common Household Items for Testing
With a few common household items, you can conduct more informative tests that begin to approximate CADR verification.
The Smoke Test
- Select a room that can be closed off (bedroom or office works best)
- Measure and record the room’s dimensions
- Place the air purifier in the center of the room
- Light an incense stick or blow out a candle to generate smoke
- Allow smoke to disperse for 2-3 minutes
- Turn on the purifier at maximum speed and start a timer
- Record how long it takes for the visible smoke to disappear
Safety note: Never leave burning items unattended. Extinguish completely after generating smoke.
The Dust Test with Powder
- In a closed room, sprinkle a small amount of baking powder or cornstarch into the air
- Allow it to disperse for 2-3 minutes
- Turn on the purifier at maximum speed and time how long until the air appears clear
You can roughly estimate CADR by using this formula:
Estimated CADR (cfm) = Room volume (cubic feet) ÷ Time to clear (minutes) × 0.8
The 0.8 factor accounts for natural settling. For example, if your 10×10×8 foot room (800 cubic feet) clears in 10 minutes, the estimated CADR would be 64 cfm (800 ÷ 10 × 0.8).
Compare this result to the manufacturer’s claimed CADR. Most home purifiers should clear visible smoke or dust in a properly sized room within 15-30 minutes at maximum speed.
Setting Up a Controlled Testing Environment
To get meaningful results from your home tests, you need to create conditions that minimize variables and interference.
- Select a room with minimal air leakage (close doors, windows, vents)
- Turn off HVAC systems, fans, and other sources of airflow
- Maintain consistent temperature and humidity during testing
- Position the purifier away from walls per manufacturer recommendations
- Distribute test particles (smoke/dust) evenly throughout the space
- Limit movement in the room during testing to prevent disturbing airflow
- Run each test 2-3 times to ensure consistent results
Proper positioning is crucial for accurate testing and everyday operation. Placing your air purifier in the optimal location can significantly improve its performance during both testing and normal use.
Consumer Air Quality Monitor Testing: The Most Reliable Home Method
Consumer air quality monitors provide the most reliable home method for verifying CADR claims, offering quantitative data that can be compared to manufacturer specifications.
Types of Air Quality Monitors
- Particle counters: Measure specific particle sizes like PM2.5 and PM10
- AQI monitors: Convert particle counts into Air Quality Index readings
- Laser sensors: Use light scattering to detect airborne particles
Reliable consumer monitors typically cost between $100-300, with professional-grade equipment starting around $500. For CADR verification, look for monitors that provide particle concentration data rather than just color-coded indicators.
Recommended Testing Protocol
- Place the air quality monitor 6-8 feet from the purifier
- Create particles (smoke, dust) and allow them to disperse
- Record the initial particle concentration
- Turn on the purifier at maximum speed
- Record particle counts every 5 minutes for 30-60 minutes
- Plot the reduction curve on paper or spreadsheet
- Calculate the rate of particle reduction
The more advanced your indoor air quality monitoring setup, like those integrated with Home Assistant, the more detailed data you can collect for accurate verification.
Understanding Air Quality Monitor Data
Air quality monitors provide various metrics that need proper interpretation to verify CADR performance.
Common measurements include:
- PM2.5: Fine particles 2.5 microns or smaller (measured in μg/m³)
- PM10: Larger particles up to 10 microns (measured in μg/m³)
- AQI: Air Quality Index (standardized scale from 0-500)
To calculate estimated CADR from your measurements:
- Calculate the particle reduction rate using this formula:
Rate = -ln(Final Concentration ÷ Initial Concentration) ÷ Time in hours - Multiply by room volume in cubic feet:
CADR (cfm) = Rate × Room Volume ÷ 60
For example, if particle concentration drops from 100 μg/m³ to 20 μg/m³ in 30 minutes in a 1,200 cubic foot room:
Rate = -ln(20 ÷ 100) ÷ 0.5 = 3.22
CADR = 3.22 × 1,200 ÷ 60 = 64.4 cfm
Particle Specific Testing for Different CADR Ratings
Since CADR ratings vary by particle type (dust, pollen, smoke), you can conduct specific tests to verify performance against each pollutant category.
Smoke Testing
Use incense, candle smoke, or cooking steam to test smaller particles (0.1-1.0 microns). These particles most closely match the “smoke” CADR rating.
Dust Testing
Use flour, cornstarch, or baking powder for medium particles (0.5-3.0 microns). This corresponds to the “dust” CADR rating.
Pollen Simulation
Although harder to create at home, talcum powder can somewhat simulate larger particles (5-11 microns) that correspond to “pollen” CADR.
Remember that purifiers typically perform differently with different particle sizes. Many units have higher CADR for pollen than for smoke because larger particles are easier to filter.
Comparative Testing: Measuring Your Purifier Against Known Standards
Without laboratory equipment, one of the most reliable verification methods is comparative testing against purifiers with established performance.
Side-by-Side Testing Method
- Obtain a baseline purifier with verified performance (borrowed, well-reviewed, or professional model)
- Place both purifiers in identical rooms or opposite sides of a large room
- Generate equal amounts of particles in both testing areas
- Run both purifiers at the same speed setting
- Compare clearing times or particle reduction rates
If your purifier performs similarly to a unit with verified CADR claims, it likely meets its stated performance specifications.
Multiple Unit Testing
If possible, test multiple units of the same model to identify manufacturing variations. A 10-15% performance difference between identical units is normal, but larger variations may indicate quality control issues.
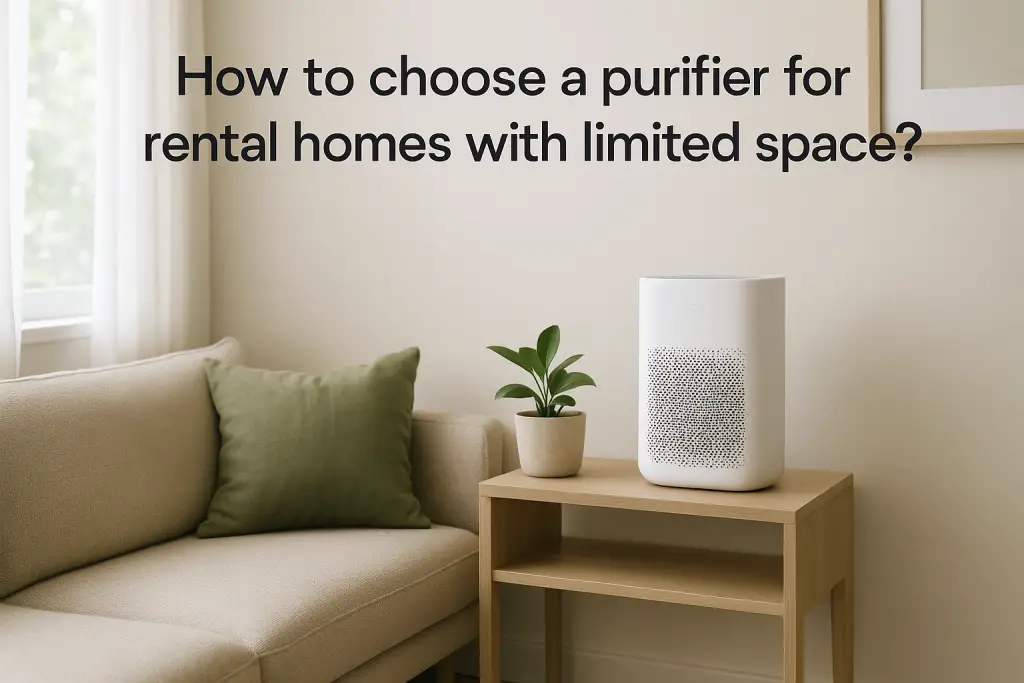
Choosing the right purifier for your specific needs is crucial. For shared living spaces like apartments, specialized considerations can help you select a purifier that works for everyone.
Interpreting Your Results: Is Your Purifier Meeting Claims?
Now that you’ve collected test data, how do you determine whether your purifier is actually meeting its claimed CADR performance?
Reasonable Performance Expectations
Home testing is inherently less precise than laboratory methods, so allow reasonable margins when comparing your results to manufacturer claims:
- 70-90% of claimed CADR is generally acceptable in real-world conditions
- Below 70% performance may indicate significant overstatement or unit malfunction
- Performance above claimed CADR is possible but uncommon
Environmental factors significantly impact performance, including:
- Room configuration and furniture placement
- Humidity levels (high humidity can reduce effective CADR)
- Filter condition and age
- Air leakage from doorways and windows
Always verify that your purifier is appropriate for your room size. Calculating the correct purifier size for your specific space ensures efficient air cleaning without wasting energy on oversized units.
When Manufacturers Overstate CADR Claims
Research and independent testing have revealed that some manufacturers overstate their CADR claims. Here’s what to look for and what you can do about it.
Common red flags include:
- CADR claims without mentioning AHAM certification
- Unusually high CADR numbers for the purifier’s size
- Claims expressed only in proprietary measurements
- Identical CADR ratings for dust, pollen, and smoke (typically smoke CADR is lower)
If your testing shows significant discrepancies, consider:
- Contacting the manufacturer with your test results
- Returning the product if recently purchased
- Posting detailed reviews with your testing methodology
- Reporting to consumer protection agencies if discrepancies are extreme
Some purifiers use technologies that may produce harmful byproducts. Understanding what makes a purifier truly ozone-free is important for health-conscious consumers.
Long-term Verification: Tracking Purifier Performance Over Time
A single verification test only tells you about current performance. To ensure ongoing effectiveness, implement these long-term verification strategies.
Recommended Testing Schedule
- Initial testing: When you first purchase the purifier
- Regular testing: Every 3 months or after filter replacement
- Seasonal testing: As heating/cooling seasons change
- Post-maintenance testing: After cleaning or servicing
Track performance data in a simple log that includes:
- Date of test
- Filter age at testing time
- Test method used
- Particle reduction time or calculated CADR
- Environmental conditions (temperature, humidity)
- Maintenance performed
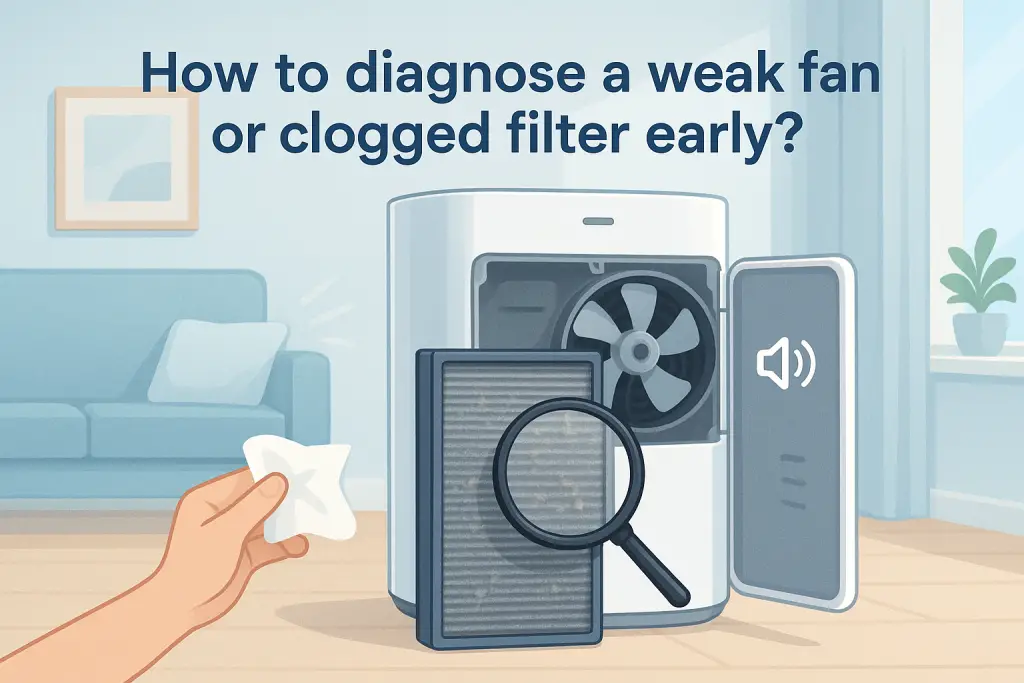
Watch for gradual performance decline, which typically indicates filter saturation rather than mechanical issues. Sudden drops in performance often point to mechanical problems requiring service.
Verifying that your air purifier doesn’t produce harmful byproducts is just as important as checking its cleaning performance. Testing whether your purifier truly operates without producing ozone can be done with simple home methods.
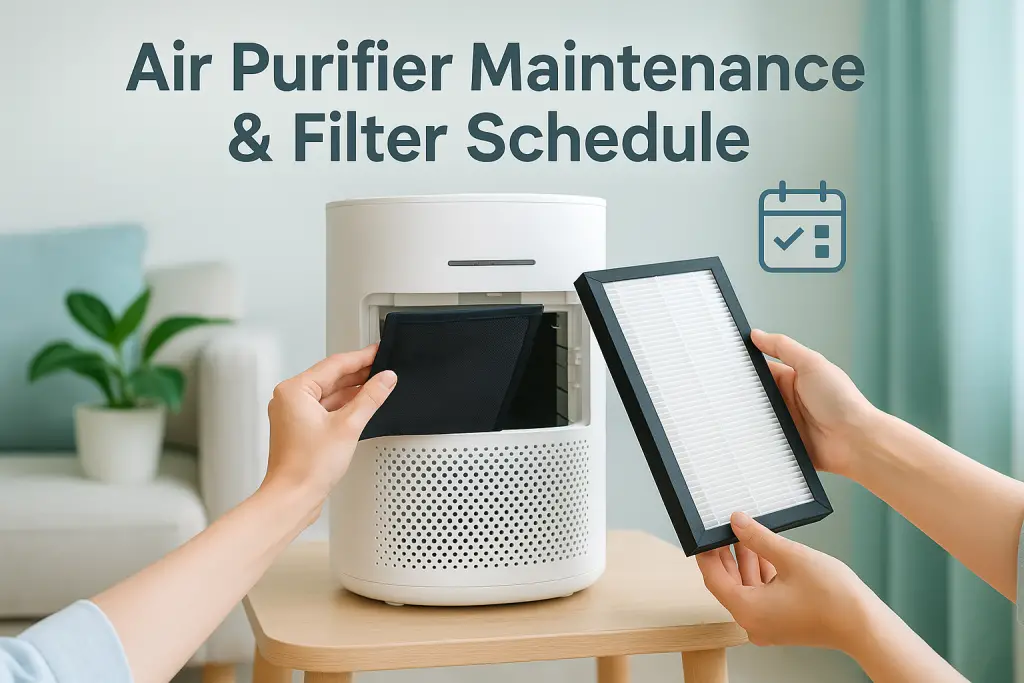
Maintenance Impact on CADR Performance
Proper maintenance directly affects your purifier’s ability to maintain its CADR performance over time.
Performance typically decreases as filters clog with particles. Most purifiers maintain 90-95% of their initial CADR during the first half of filter life, then drop more rapidly. Replace filters when performance falls below 70% of initial measurements, regardless of manufacturer timeframes.
Common maintenance mistakes include:
- Waiting too long to replace filters
- Improper cleaning of washable pre-filters
- Blocking air intakes with furniture or curtains
- Using unauthorized replacement filters
Maintain performance by regularly checking and cleaning external surfaces, ensuring unobstructed airflow, and following manufacturer maintenance guidelines.
Concerned about potential ozone emissions from your air purifier? Understanding safety standards for ozone emissions can help you protect your household from potentially harmful byproducts.
Professional and Advanced Verification Options
If you need more definitive verification than home testing can provide, these professional options offer higher certainty.
- Professional testing services: Indoor air quality professionals can test purifier performance with calibrated equipment ($200-500 per assessment)
- Advanced consumer equipment: Research-grade particle counters provide more accurate measurements but cost $1,000+ (consider renting)
- University research departments: Some environmental science departments offer testing services or may include your purifier in ongoing studies
- Independent testing organizations: Consumer Reports and similar organizations regularly test and rank air purifiers
Professional verification makes sense when:
- You have health conditions requiring guaranteed air quality
- You’re comparing multiple high-end purifiers before a significant purchase
- You suspect serious performance discrepancies in an expensive unit
- You need documentation for warranty claims or returns
Conclusion: Making Informed Air Purifier Decisions
Armed with verification results, you’re now equipped to make better decisions about your air purifier usage and future purchases.
The most reliable home verification methods, from simple to advanced:
- Visual airflow and filter inspection tests (low confidence, but simple)
- Timed clearing tests with household particles (moderate confidence)
- Consumer air quality monitor measurements (good confidence)
- Comparative testing against known-good units (very good confidence)
- Professional testing (highest confidence)
Use your verification results to:
- Determine optimal placement for your existing purifier
- Create a maintenance schedule based on actual performance, not just time
- Make informed decisions when purchasing replacement filters or new units
- Adjust usage patterns to optimize both air quality and operating costs
Remember that even a purifier performing below its claimed CADR can still provide significant air quality benefits. The goal of verification isn’t perfection but understanding your purifier’s actual capabilities so you can make informed decisions about your indoor air quality.